Issue No. 25
I learned a lot about the anatomy of a book and how modern books are made ten years ago, when I stumbled into publishing through the back door. I was fascinated by the amount of technical detail that goes into making something seemingly simple.
And then two months ago, I attended a bookbinding class. It was a stressful time in my life and I needed an escape. And doing something with our hands is often the best escape. The class was tremendously calming. I met people from all walks of life, including someone from a local press whom a friend had once mentioned to me in passing. They had an apprenticeship program, she told me. Wouldn’t that be fun? To be an apprentice at a press.
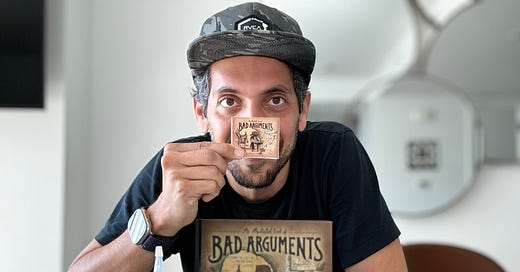
So this week, I thought why not try and recreate that feeling I got during that class, and make an actual book from start to finish. Not just any book, but a teeny, tiny, abridged version of Bad Arguments. There’s something to be said about doing something quietly and inefficiently, especially when we’re learning a new skill. Hope you enjoy this walkthrough of the process.
✨ I’ll do a limited run of these tiny books in time for the holidays for paying subscribers. I already have an idea for how to box them! All founding members will get one, and I’ll raffle off three to anyone who is a paying subscriber as of, let’s say, July 31, 2024. I’ll announce the winners in August, and you’ll get a separate email from me in October asking for your address so I can get one delivered to you. ☃️
How to make a tiny book
1 Designing the layout
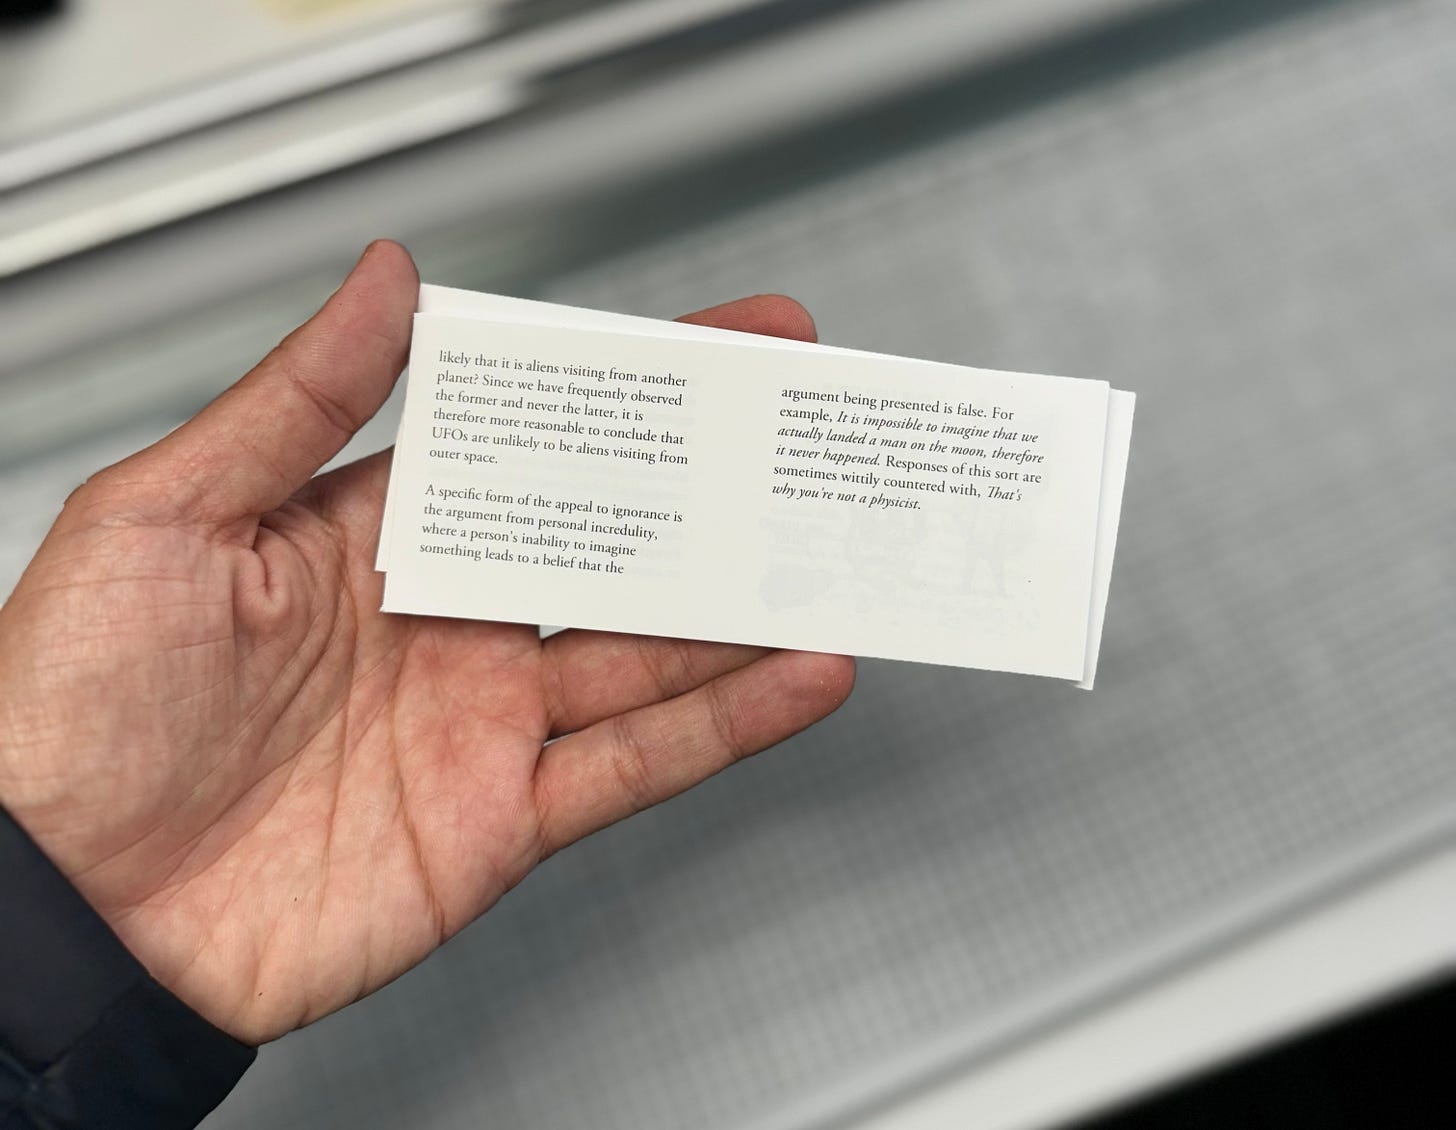
To maintain a similar form factor to the actual-size book, which is 8 x 7 inches, I figured this tiny one would be 2.5 x 2.1 inches. I set the text in Adobe Garamond Pro. For each of the illustrations, I separated the caption from the artwork so that each was on its own page. Otherwise, the captions were too small to read. I’d used InDesign in the past to lay out pages, but wanted to try a new desktop publisher this time round. I used an app called Swift Publisher.1 I set the book’s dimensions and then arranged the text onto spreads, leaving enough room for cutting and binding.
2 Printing pages in the right order
When it comes to printing your book, you’ll want to print your pages in a certain order so that it all looks like a book when the pages are stapled, glued, or sewn and you start flipping through them. This step is known as imposition. If you’re printing a spread on a double-sided sheet of paper, for instance, rather than your pages being ordered like this:
Face side: 1, 2
Back side: 3, 4
They’re ordered like this:
Face side: 4, 1
Back side: 2, 3
A desktop publisher reorders your pages in a way that lets you print them double-sided and staple them like a booklet. Since I’m making a book and not a booklet, I needed several of those booklet-looking bunches printed, which I’d then sew together and glue to a cover. Those bunches are called signatures. If you look at books on your bookshelf, chances are several of them will have signatures. You’ll be able to tell by looking at the spine.2
I had 64 pages total, so that meant four 16-page signatures. I separated the book into four projects in the desktop publishing app, with 16 pages in each project. I then exported each project and asked the app to format the exported PDF as a booklet. I added crop marks with a bleed size3 of 0.125 inches to make it easier for me to cut the pages at the printer. I ended up with four PDFs, each with 8 spreads. These would be printed double-sided, so I’d end up with 4 x 4 physical pieces of paper. Your total pages have to be a multiple of 16 if you’re using 16-page signatures. If they’re not, add blank pages to the start or end.
Off I went to FedEx. When you use their self-service kiosks to print a job, double-sided, the crop marks won’t always be aligned it turns out. The person working the desk helped me out. I printed the inside pages on 60 gsm paper. If you want to try and do it at home, you’ll want to print the odd pages first, then print the even pages with the reverse page layout orientation option selected. I had to mess with that a bit until I figured it out.
3 Cutting and folding
I used a regular paper cutter to cut the pages. Maybe one day I’ll invest in a paper guillotine (first introduced in the 1850s, by the way), which can do the job faster and makes the most satisfying sound in the world. Those go for hundreds to thousands of dollars.
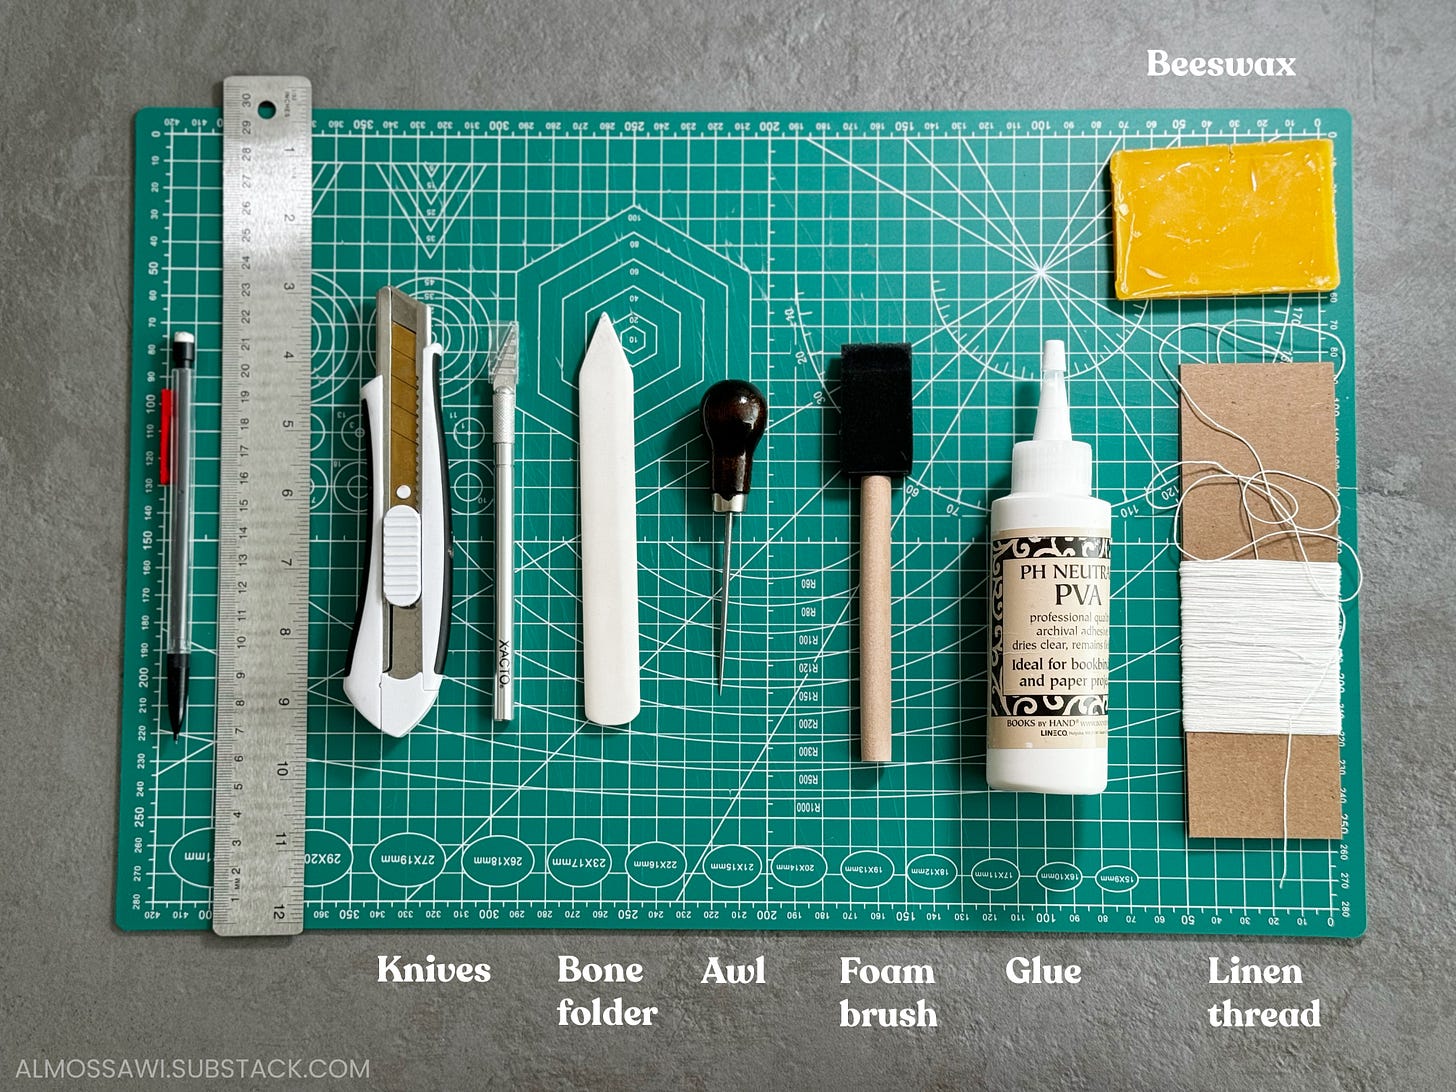
I folded each signature by hand, and then pressed it down at the edge with a bone folder. A bone folder is a tool with a smooth, flat surface made of bone that does a better job than my squishy thumbs at making sure paper is folded down crisply. I placed the four signatures on top of each other and then placed two heavy books on them for a few hours.
4 Sewing
I opened each signature and marked four equally-spaced holes along the middle. I did that for all four signatures. I then used a tool called an awl to poke holes into each marking. A tip here is to be judicial with how forcefully you push the awl through the paper. I wanted holes big enough for a thread to go through, but not massive ones that my glue, later on, might seep through, causing the pages to stick together. It’s a good idea to place a foam block or scrap paper under your signature to make sure you don’t ruin your cutting board.
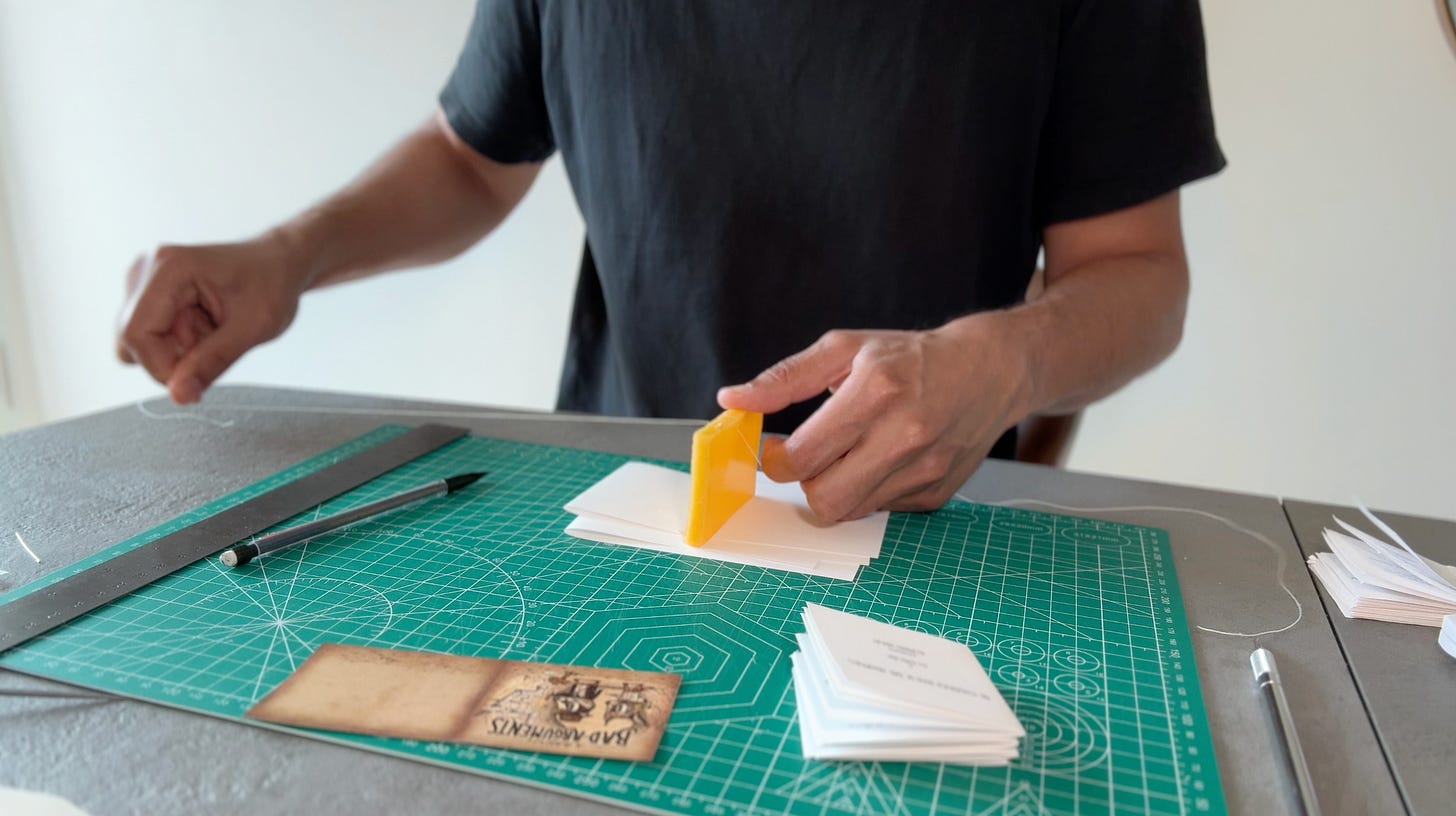
I cut off about an arm’s length of linen thread and coated it with beeswax. This involved moving the thread through the wax, once along each side. The wax is soft and the thread easily cuts through it. Once coated, I moved the thread between my thumb and forefinger to warm up the wax and ensure it sticks to the thread. The wax makes the thread sturdier so that it’s easier to handle and so that it doesn’t get tangled. You can buy thread that’s already waxed.
Starting with the last signature, I sewed into the first hole, then out of the second one, then into the third one, then out of the fourth one. I placed the second-to-last signature on top, then sewed into that one’s fourth hole, returning back to the bottom signature once and looping through it to ensure the two were securely attached. This process is called kettle stitching.
With the first and last holes of each signature, you’re looping your thread around the two outermost signatures to secure them together. (As with baking, I planned to do one thing then did something else; I ended up securing the signatures using the thread in the middle.) Once all signatures were sewn together, I tied a knot on the spine and cut the thread. I now had a text block.
5 Gluing
To ensure the text block stays secure, I clamped the signatures together and applied glue to the spine. You can get a proper bookbinding press, but I just used a clamp I found around the house. With the spine exposed, I dabbed archival-grade PVA glue on the spine with a foam brush. I put on a layer, waited for it to dry, and then put it under two heavy books overnight.
If it were a bigger book, I would probably have applied a second layer of glue to it, or I’ve seen some people glue tissue paper along it for extra durability. If it were a case-bound book (books with hard covers that aren’t flush with the inside pages), I would have glued endbands to either side of the spine. Endbands are the tiny colorful strips that are either a solid color checkered. You can make them by wrapping cloth around a piece of yarn and then gluing it to the spine’s top and bottom edges.
6 Preparing the cover
I measured the width of the spine and then designed the front and back covers in Photoshop accounting for that spine width. Then off to FedEx again, this time to print the cover on a heavier 100 gsm cover stock. I cut it there with their paper cutter, and then at home I used the bone folder to score either side of the spine to make it easier to fold. Scoring means using the bone folder’s pointy tip to press hard against the card so that you get an indented line that you can then easily fold along. I typically press down hard two to three times.
I also scored the front and back covers, roughly a quarter of an inch from the spine, so that when someone opens the book, the covers fold along the line.
I flipped the cover over and dabbed the same PVA glue along the back of the middle and a little under a quarter of an inch to either side, leaving enough of a gap to ensure the glue didn’t seep out. The idea was to use 0.25 inches of the book’s first and last pages as sort of endpapers and attached those to the cover.
I placed the text block into the cover and then put the whole book under two heavy weights to sit until the afternoon.
7 Making the edges even (optional)
When you fold paper, the innermost ones have nowhere to go so they’ll push outward. The fix is to cut them at the edges using a paper guillotine. Alternatively, you can either use a knife that has a thick, sharp blade and a steel ruler. Or I’ve seen people recommend using a 220-grit sanding block to sand the book’s edges. I didn’t do either for this project since I don’t mind uneven edges on books.
8 The end result
Here’s the end result. Doesn’t it look great? I’ve set myself a personal goal of getting faster in the next weeks. There’s a short video of the entire process up on YouTube and Instagram. Share it if you enjoy it. (I was talked out of publishing the 40-minute long one.)
Many teachers think of children as immature adults. It might lead to better and more ‘respectful’ teaching, if we thought of adults as atrophied children.
—Keith Johnstone (Impro)
Until next time,
Ali
P.S. If you’re ever in San Francisco, check out The American Bookbinders Museum. It has a fascinating collection of machines that walk you through the history of bookbinding over the centuries.
https://wwwswiftpublishercom.sjv.io/c/5605786/447139/7969 (This is an affiliate link.)
https://en.wikipedia.org/wiki/Section_(bookbinding)
The bleed is the area around the page that’s trimmed. A bleed gives a printer the flexibility to account for machine and design inconsistencies.






I learned to make books in a summer school at Oxford twenty five years ago. I agree, fun and therapeutic and relaxing. You’ve inspired me to locate my bone knife and dig out my unfinished projects !
I’ve got a book in me too.
In one of those funny coincidences I’d just decided that I’d get off my fat bottom and do something about it when I stumbled on your inspiring post - thanks